Image generators such as Midjourney, Nano Banana (Google’s Gemini image model) and the image tools in ChatGPT can produce remarkable pictures, but only if they know what you are picturing. “A cat” leaves thousands of decisions to chance. The trick is to describe an image the way a photographer or art director would brief their team.
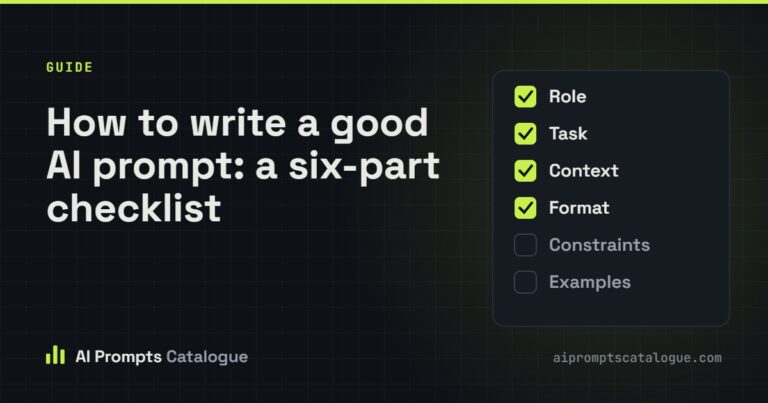
Work through these five steps, in this order.
1. Subject: who or what, doing what, where
Start with the main subject and make it specific. Add what it is doing and where. “A ginger cat asleep on a stack of old books in a sunny library window” gives the model a clear scene to build. If there are several subjects, say how they relate: who is in front, who is looking at whom.
2. Style: what kind of picture is it?
Name the medium. A photograph, a watercolour, a 3D render, flat vector art, a pencil sketch, pixel art and a 1970s film still are all very different images of the same subject. You can add a mood too: cosy, dramatic, minimal, whimsical.
Describe a style rather than naming a living artist. It gives more predictable results and respects the artist’s work.
3. Light and colour
Light does more for an image than almost any other detail. Try “soft morning light”, “golden hour”, “harsh midday sun”, “neon glow”, “studio lighting with a soft shadow”. For colour, name a palette (“muted pastels”, “black and white with one red accent”, “warm earthy tones”) or your brand colours.
4. Composition and camera
Say how the picture is framed: close-up, wide shot, overhead flat lay, eye level or low angle looking up. For photographic styles, camera terms help: “35mm lens”, “shallow depth of field”, “long exposure”. Finally, set the shape. A square post, a 16:9 banner and a 9:16 phone story need different compositions, so give the aspect ratio in the prompt or in the tool’s settings.
5. Details and text
Add the small things that make the picture yours: textures, props, clothing, the time of year. If the image needs words, such as a poster title or a label, put the exact text in quotation marks and say where it goes. Recent models handle short text much better than older ones, but keep it short and check the spelling.
Putting it together
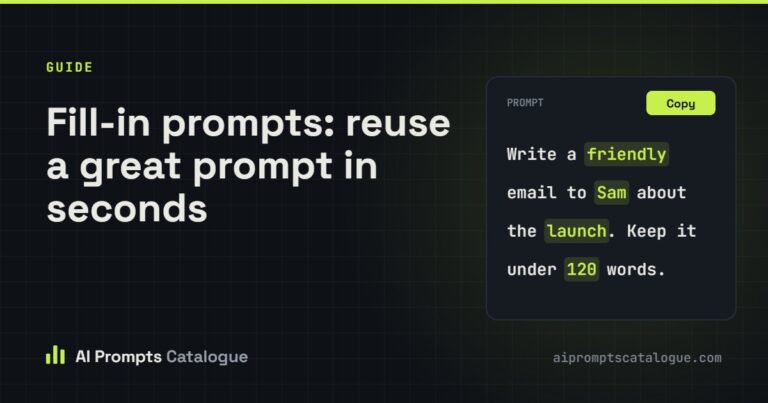
Here is the checklist as a fill-in template you can reuse:
${style:A photograph|A watercolour illustration|A 3D render} of ${subject}, ${setting}.
Lighting: ${lighting:soft morning light}. Colours: ${palette:warm, earthy tones}.
Composition: ${framing:eye-level medium shot}, ${aspect ratio:4:5}.
Details: ${details}.
Editing an existing picture
Many image models can also change a photo you upload. For edits, describe what should change and, just as important, what must stay the same: “Replace the background with a clean white studio backdrop. Keep the product, its shape, label and colours exactly as they are.” Many prompts in our photo editing and product collections work this way, such as Mirror Product Photo, which places your product in a styled scene.
What to avoid
- Contradictions. “Minimalist” and “highly detailed”, or “night” and “bright sunlight”, pull the model in two directions.
- Too many subjects. Each extra subject makes the result less predictable. Start simple and add.
- Real people and brands. Do not create images of real people without their permission, and do not use logos or characters you do not have the rights to.
Learn from examples
The quickest way to improve is to study prompts next to their results. Many image prompts in the catalogue show an example of what they produce, so you can see how each phrase shapes the picture. A few to explore:
- Make a Movie Poster turns a reference photo into a film poster.
- Fisheye Peephole Illustration shows how a single camera idea changes a whole scene.
- RPG Character Status UI combines an illustration with game-style interface text.
- Sticker Image Generator is a fill-in prompt for colourful stickers with your own text.
Or browse the Image Generation category by collection: portraits, products, scenes and places, characters, graphics and more.